Monday, July 22, 2013

I'M BACK!!!

I'm b.a.c.k!!!!!!!

I've been gone a very long time but I've been wanting to get back to blogging about my crafting adventures for quite some time!

I've done so many projects since my last post several years ago, but I'll start with a quick blurb about my upcoming project this evening.

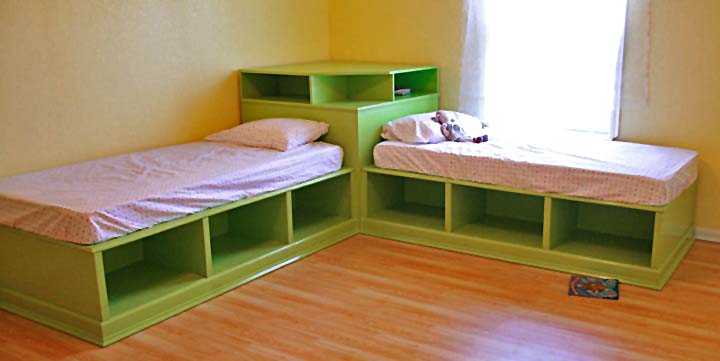
In our new home the boys have to share a room.  A full sized bed, a twin day bed, and two dressers, plus lots of toys and what-nots = no room in their bedroom to breath, let alone walk around.  So, we are building them this!  Except that the cubbies will be drawers that go the whole width of the bed.  Each drawer will have two compartments.  The forward one for clothing, the back one for out of season clothing or toys, etc.  We've built quite a few things off of Ana White's website and her site has proven very helpful again.


http://ana-white.com/sites/default/files/theresa-storage-bed-corner-hutch_1.jpg

Another reason why I'm soooooo excited about this build is our Home Depot carries PureBond plywood!  It is plywood that is formaldehyde-free.  I believe that the more chemicals we keep out of the home the better off we'll be health wise, though it did cause me a bit of sticker shock when I first priced it!  I feel that the difference we pay now will be well worth it in the end....it's an investment that will pay dividends later in life! 

Tomorrow I hope to finish up the modifications to the plans and that I'll be able to finish laying out all the pieces on graph paper so we buy enough materials to finish the job without too many trips back to HD, which is now about 15 miles away.

Monday, June 14, 2010

Upcycled Pleated Beauty Bag

I knew I'd revisit the pleated beauty bag soon than later.  I just love the unique look to this pleated beauty.  I'm all for reducing, reusing, recycling.  But, don't get me wrong, I'm not all about mother earth, more for preserving this great world God has given us for future generations.  Anyway, getting back to reducing, reusing, recycling.  I try to find ways to make my crafting less expensive and repurpose items already out there.  Which is what I did for this bag.


I found a pair of linen pants at the Navy thrift store for a $1.  I was taking a bit of a risk that I'd get enough usable material out of one pair to make another pleated beauty bag, but they were size 18 so I thought that might help me.  The color was perfect for some leftover fabric from the bag I made myself.  A new word has emerged lately, that word is upcycle.  I particularly like this word, it is truly what I did with the pair of linen pants I picked up.


I knew right away who I was going to make the bag for, a beautiful young lady who was graduating from high school and moving on in her life.  I wanted her to know how beautiful she was and how special she was to us and those around her, and to God! 


Thank you for stopping by to visit Modge Podge Crafting, stop back soon to read about a Quilt-for-Life I made for Isaiah and yet another pleated beauty handbag I'm making for another friend.

Wednesday, June 2, 2010

Sweet Cupcake - Cupcake Pincushion

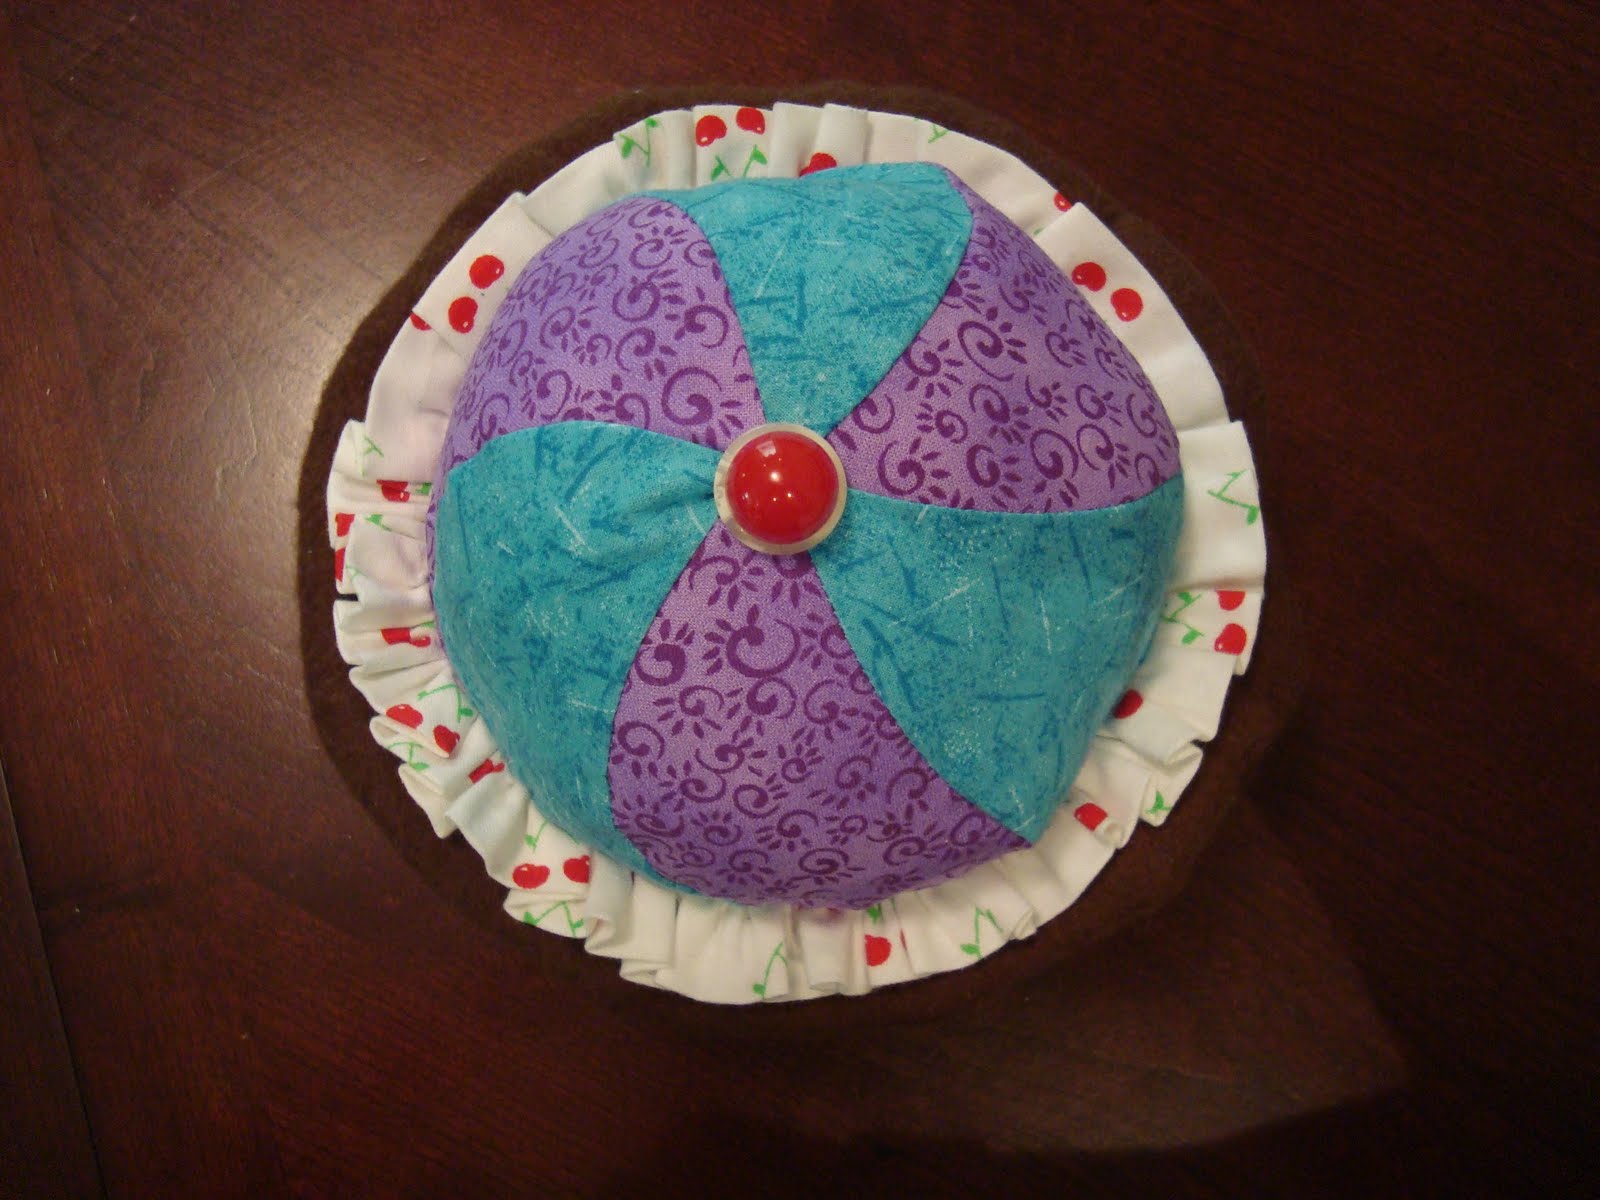
The question was...what do you sew for a an experienced seamstress for her birthday?  I wanted to make something special and unique.  While perusing the internet for more sewing project ideas (like I really need more project ideas I have projects pouring out of every corner of my crafting area) I ran across Portabellopixie blog by Sandi Henderson.  I knew I had stumbled onto something good!!  After reading about her new book release I ventured over to her shop and took a peak at what she had to offer.  I knew the moment I laid eyes on the cupcake pincushion pattern it would fit the 'special' and 'unique' I was looking for in that birthday gift I wanted to give!  After some searching, I discovered that pretty much everywhere on the net offers the pattern for the same price, but I was in a hurry to get started so I ordered it from a seller off eBay who promised to ship the pattern the next day to me.  In the mean time, I went shopping for the yummy fabrics that would make this sweet treat.


Let me tell you, her pattern directions are excellent and one step better were the color step-by-step pictures!  Ahhh, perfect for a visual learner, like me!  I got busy right away to make this darling little cupcake.  This was my first time sewing a swirl seam (not sure the official name) and I was quite nervous at first that I was going to royally mess it up.  Thankfully, it turned out much better than I expected.  I learned a little bit as I did each seam what works best for matching up the edges.  They weren't perfect, but I had decided that 'good enough' would be good enough, especially since I wasn't certain I could do any better the second go at it.  

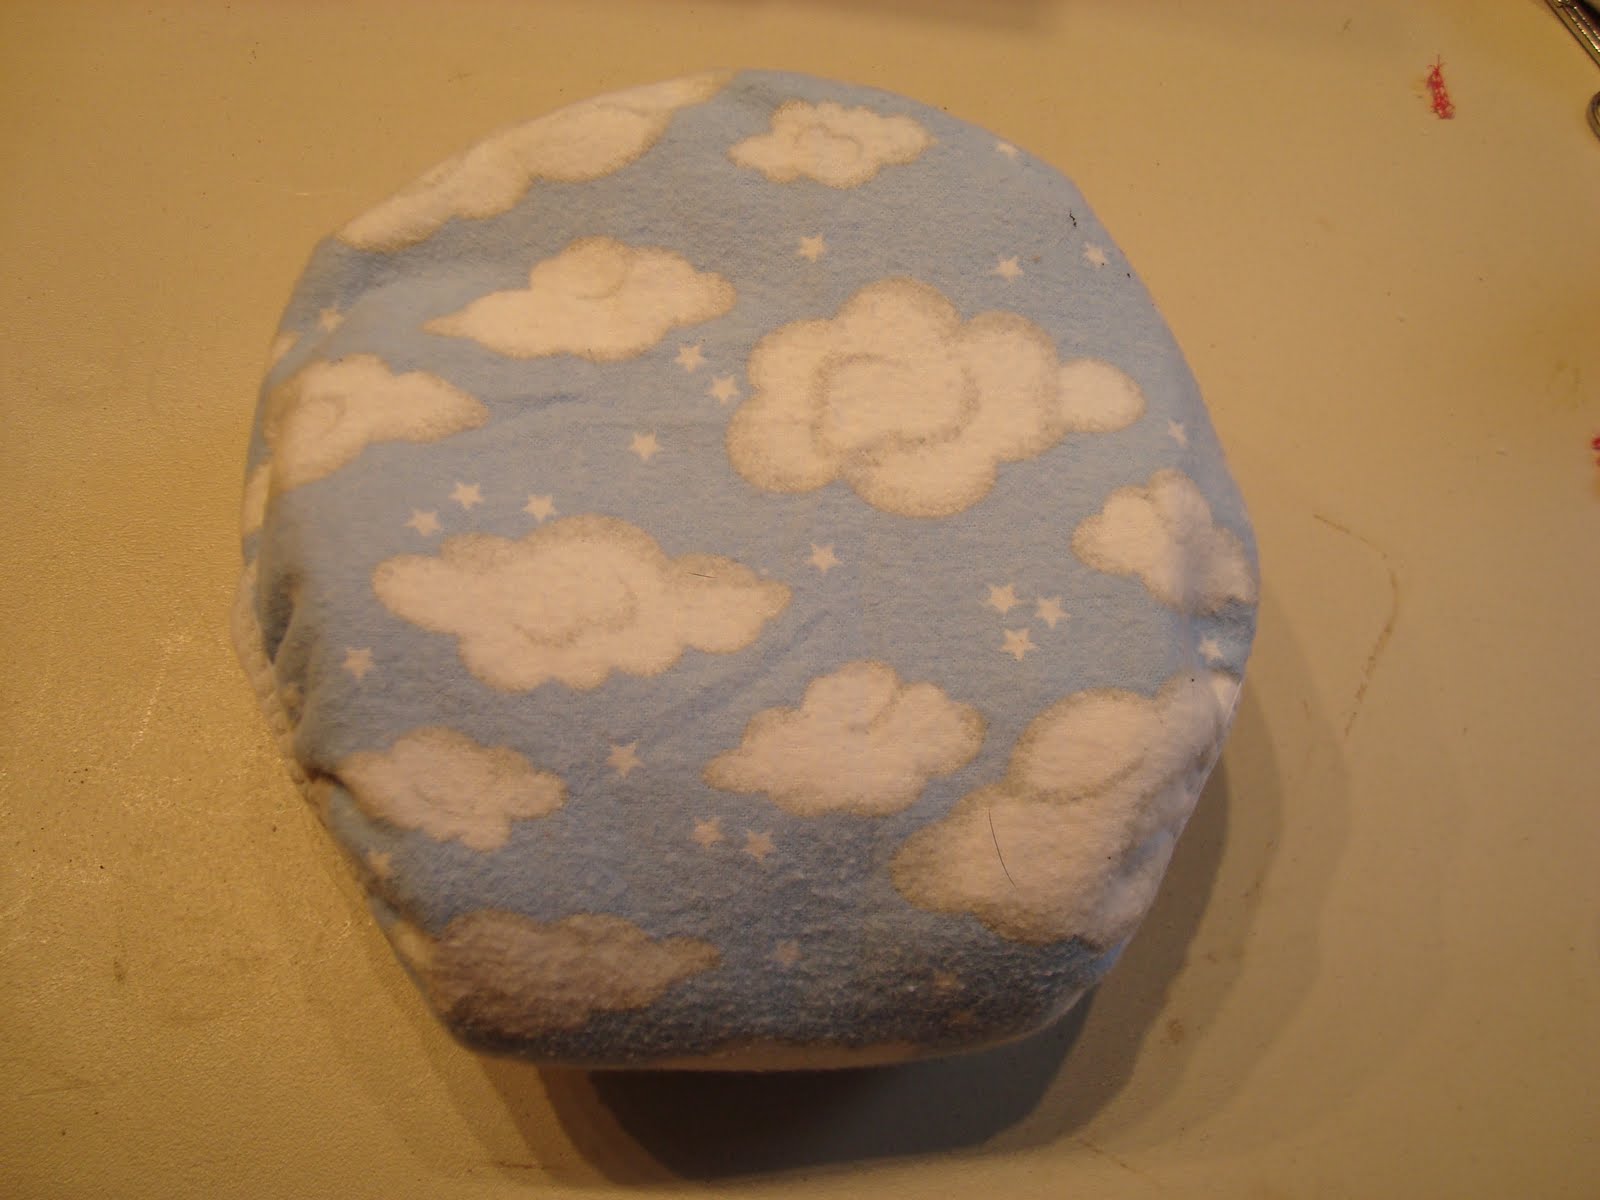
So....the finished product!  It is a rather large pincushion.  It is stuffed with poly pellets in the bottom for weight and a small layer of poly along the frosting part with SOS pads for the rest.  The SOS pads worked great for stuffing and will help sharpen and keep sharp all the straight pins that find their new home in this yummy new pincushion.


Thank you for stopping by Modge Podge Crafting.  Come back again soon!

Sunday, May 9, 2010

Free Pattern - Free is my friend!

I have really been enjoying my sewing exploits lately.  I have also been in love with the funky floral print fabric I used to make my handbag, the brown fabric is a cotton solid.  So, with this wonderful free pattern I found on the internet I made this beautiful tie dress as a birthday gift.


 I used the toddler version of the pattern and forgot to shrink the pattern for a 2T size, so the dress I made is a 3T.  I am amazed at the number of free patterns out there on the web.  I would much rather get something for free instead of buy it, who wouldn't right?!  As we say in our house, free is our friend!  :)  I used steam-a-seam2 for the embellishment on the bodice. 


Please remember to respect the pattern owner's wishes and never make items to sell if they request the pattern be used for personal use only.  Happy Sewing!!

Tuesday, May 4, 2010

Pleated Beauty Handbag - Something for myself!

Okay, so I do a lot of sewing, but mostly for others and rarely anything for myself.  After seeing a couple of these pleated beauty handbags a dear friend made I was smitten and just had to make one for myself.  They are trendy, chic, and just plain yummy!  The pattern can be found in "Bend the Rules Sewing" by Amy Karol.  The book has some other really cute patterns so I think it is worth the investment!  I now have it on my wish list for my own library as I just returned the borrowed copy. 

Please forgive my picture taking abilities...they need some help!  Here is the pleated beauty handbag.  A special thank you to my dear friend Fairlight for helping me along the way! 


The brown is linen and the print is a cotton fabric.  The pattern calls for embroidery, some machine and some by hand.  I decided to forgo the extra work and used Steam-a-Seam2 along with some of the flowers from the print fabric to add embellishments to my bag.  It made embellishing the bag super quick and super easy.  I was thrilled with the outcome and seeing the bag still puts a smile on my face!

What bag is complete without some matching accessories?  I just had to make a matching wallet to go along with my handbag.  The pattern I used is called Wallet Wonders and is by Lazy Girl Designs.  Both "Bending the Rules Sewing" and the Wallet Wonders pattern can be found at People, Places, and Quilts store in Summerville, SC.   The ladies at PPQ are incredibly helpful and very sweet.  I absolutely love my visits to PPQ, even when I just browse and don't buy anything.  It's like stepping back a generation or two to a time long since forgot by many.  It is a little taste of heaven.


I have to say that since buying my snap press from kamsnaps.com I will probably never use velcro again.  Putting in snaps is a breeze and should last the entire life of my wallet, unlike velcro.  I absolutely love my snap press and the 10 million choices for snaps, okay maybe not that many, but there are a lot and they are cheap! :) 

This will not be the last time you see these fabrics and color combinations.  I loved them so much that I decided to make a dress as a birthday gift from these same materials.  It is nearly complete and I'll blog about it in the next week or so.

Monday, March 29, 2010

Cloth Diapers - Nothing like Grandma used!

Cloth diapering has become more and more popular.  While pregnant last year with our youngest child, I decided I wanted to revisit the idea of cloth diapering again.  Our oldest, now 14, was cloth diapered for awhile.  It only took searching the internet for maybe 10 minutes to realize that cloth diapers have left the dark ages and are quite modern now!  They are pretty comparable to disposable with many more benefits.  If you can sew, even just a little bit, you can make some great cloth diapers for rather cheap.  I've tried out several patterns, mostly free ones found on the web.  However, since Liam was 5 weeks old we have been practicing Elimination Communication (also known as infant potty training, though I don't particular care for that title) I was looking for a diaper that made pottying the baby easier.  


I stumbled across Chloe's Toes Boutique one day spending way too much time on the internet!  (Who doesn't right?!)  What I immediately loved about her fitted cloth diaper pattern was that it used all FOE (Foldover Elastic featured in the photo above) and thus making it perfect for Liam to wear as a diaper or as trainers!!  I also loved that the pattern was suppose to be super quick and easy, what busy mommy doesn't want quick and easy?!  I have to tell you that when the pattern arrived and I opened it up to read the instructions I was amazed at how thorough they were and the many different options for the pattern.  The pattern ranges in size from preemie (doll size) to XXL.  It can be used to make fitted diapers, pocket diapers, AIO (All in one) diapers.  I felt like I had hit the jackpot.  Then....what was even better...was the fact that because the entire edge of the diaper was elasticized they could be putted up and down without being unsnapped.  Hooray, they will be perfect for potty runs, too!


The first diaper probably took me about 1 1/2 hours to make.  I am a very visual learner, so I had to pay close attention to the instructions and photos, so it did take quite a bit longer to make sure I was following each step properly.


This was the trial run diaper, and the first time I've sewn with FOE.  I learned I definitely have to pull the elastic tighter around the legs next time, but I was thrilled with how the first run went!  The last photo is of the FOE.  Foldover elastic is sooo easy to work with, I don't know why I was so nervous to use it!


Please note, I have never been asked to review a product or been offered anything free for my reviews.  I just love to share what works great for us! 

Tuesday, February 16, 2010

Crazy Quilting - Is Crazy Fun!


It's been awhile since I've posted.  Most of my recent creations were Christmas gifts, so out of fear of the recipients seeing their gift featured, I've waited until after the holidays to post.  Well, you know how it goes, time gets away from you and before you know months have past!

I want to feature Crazy Shortcut Quilts, a quilting book I bought in the fall.  I stumbled upon it while viewing a quilting video on YouTube.  Remember me telling you I get most of my ideas from YouTube?  This is no exception!  So,one of the authors of this book has some excellent videos on YouTube to go along with the book.  For a visual learner like me, that is like hitting a gold mine!
 I'm not great at matching fabric colors and patterns so I purchased these coordinating quilting fabrics as a kit at AC Moore (of course I used the lovely 50% off coupons they offer on occasion).  I then came up with my own crazy shortcut pattern.  Normally, you'd use the same number of different patterned fabrics for the number of blocks you are doing.  I did 12 blocks total, but I decided to do 2 blocks of 6 different prints because I didn't want to have to buy more fabric.  I did end up not having enough of the striped fabric to do the backing in all one print, so I took all my material to the local quilting store and had the wonderful ladies there help me coordinate the fabrics.

I followed the directions for the "Bright Idea" quilt starting on page 48 of the book.  Here is a sample of one of the blocks quilted.  When I took this photo I had already decided the layout, that is why there is a tag pinned to the block.  Since I went with 6 different prints for 12 blocks, I had some repeating patterns in the same location in some of the blocks.  This bothered me at first, but then I decided that since it was my first and handmade it wasn't going to be perfect.  Once I got over that hang up, I really started to like how the quilt was turning out.  Below is a photo of the blocks laid out on the floor.  It took awhile for me to decide in which order I wanted to sew them together. 
In order to cut down the blocks in preparation for the sashing, I decided to use a whiteboard marker to draw lines on my template so that the quilted seams were in the same place on each block as I cut them down.  They are really hard to see, but in the middle picture you may notice green lines on the template, those are the lines I drew as a guide so I knew where to place the template for cutting the blocks down to size.

Here is an up close look at the back sashing and quilting.  What I love about the back is that it reminds me of watermelon!   I have such fond memories of stopping by the side of the road in Nebraska at a produce stand, with my Dad growing up, and buying a huge watermelon for us to take home and eat.  We'd sit outside and munch away on the yummy treat!  I was always perplexed why some chose to sprinkle salt on their watermelon.  I thought it was perfect just the way God made it!  What sweet memories!

Here are the 12 blocks laid out in the order in which they will be sewn together.  At this point, I wasn't so "crazy" about how it looked...the old adage "don't judge a book by its cover" kept running through my head.
It was a challenge to get the colors evenly distributed due to using only 6 print fabrics.  Next time I'll be sure to select the same number of prints as the number of blocks I'll be using to make the quilt.

In the end, I decided that since it was a crazy quilt it was okay for it to be a bit psychedelic.  I loved the book.  The instructions were excellent and straightforward.


The finished quilt front shown on top and back on bottom.  Sorry, I couldn't figure out how to rotate them!

Friday, November 6, 2009

Crochet Beanie Hats


As I mentioned in my last post, I learn how to do a lot of different crafting techniques from YouTube.  I want to share an amazing crochet teacher on YouTube with you.  Teresa could teach a rock how to crochet!  If you are like me, a very hands-on and gotta-see-it-to-understand-it learner, you will love Teresa's videos.  I initially came across her videos when my dear husband and I were trying to figure out what stitch his grandmother used in making his afgan many years ago.  I love the design the stitch creates and wanted to do a blanket with the same stitch.  Shortly after learning that it was called the ripple stitch, and making a baby shower blanket in that stitch, I ventured on to some videos to make my unborn baby a beanie to wear home from the birth center.  I've been sold ever since on Teresa's videos.


We recently had to make several 5-hour road trips so I wanted an easy to finish crochet project for the ride.  I watched the above video several times, then went to Teresa's blog to print out the written directions.  I'm frugal and will use up what I find laying around so I made the first beanie out of some rainbow yarn my husband had leftover from a sock puppet he had to make for his military initiation...long story!  I actually ended up getting off some how and so I unraveled the whole beanie and started over.  The end result ended up being too small for my son, but will make a perfect gift for a friend who is due with a precious bundle of joy in January.  It will be perfect because we won't know if the bundle of joy is a boy or girl until the baby decides his or her birthday and join us earth-side of the womb sometime in January.  I moved up to crochet hook sizes to an "I" and made another beanie which fit Liam really nicely.  I added several rows of single crochet on the inside to get a cute little roll on the edge and to make it a bit longer down to cover Liam's ears completely.  However, just today Teresa added this video on elongated ear flaps!  I will definitely be visiting that video when I make the next beanie!

Here's Liam in his beanie that I made to match his winter jacket.  The yarn was leftover from an afgan I made for a deployment Todd went on in 2004.

He wasn't quite sure what was up with the thing on his head!  The photo below is a picture of all
three of my children a few hours after Liam was born.  He is sporting the beanie I made for him
while still pregnant.

Saturday, October 17, 2009

Baby Rag Quilt

Gift giving is one of my favorite things to do.  Even more so when it is something I've made especially for the individual.  A special, one of a kind gift says a lot more than happy birthday, merry Christmas, or congratulations.  It adds value that a store bought gift just can't.

I get a lot of my crafting ideas from YouTube.  You can learn to make or do anything from the videos posted there.  One day while cuddling and feeding Liam (read: sitting in our comfy chair with nothing better to do) I came across this video on YouTube:


Expert Villiage has a lot of great videos on YouTube.  What is frustrating about their videos, though, is they aren't numbered!  After complaining to Expert Villiage directly about their lack of numbering, I was told I could find all their videos in order directly on their website. Gretchen has several really good videos and I will feature another one of her projects I made soon.

The rag quilt I made was for a baby girl baby shower.  I used different dimensions and seam allowances, but I got the idea and steps directly from the videos.  The quilt I made used (42) 7"x7" squares on each side.  I used a 1/2" seam allowance.  I am very frugal and try to be green in all that I do.  I'm frugal more so out of necessity, but also I don't see the need to spend more money on something than absolutely necessary.  Therefore, I purchased most of my flannel for this project off the clearance rack at our local fabric store.  The rose print flannel jumped off the shelf at me a few months back at just $1.95 a yard.  At the time, I didn't have a girl project.  When I found out the baby shower was for a girl I knew exactly what I would make. 


Here are the squares before being pieced and quilted.

The blocks going right to left have been sewn together,
next attaching the rows together.


Front sewn together before the seam is snipped.


Snipping the seam, by far the most time consuming and tedious
part of making this quilt!!  Emma was a huge help!!


Close up of the quilted blocks.


Finished front after being laundered.


Finished back.

Monday, October 12, 2009

Mei Tai Baby Carrier

Thank you for stopping by to read my blog.  I've been wanting a place to feature all my crocheting, sewing, scrapbooking, and misc craft projects.  I've given my blog the name "Modge Podge Crafting" because I love to do many different types of crafts and depending on my mood it could be anything from crocheting to whimsical one of kind projects.  About the only type of crafting I don't care to do, only because I seem inept at it, is knitting.

So, today I'm going to show you a project I finished while still pregnant with my third baby.  I never used a carrier for my older two children, but knew if I ever had another baby, I wanted a few in my stash.  I found Jan Andrea's website amazing and want to share her excellent detailed instructions along with some photos of the "man tai" in process, finished, and in use. I wanted this carrier to be Todd (husband) friendly and so hopefully he'd be willing to wear the baby, but notice who is wearing Baby Liam in the pictures below.  ;)

My materials.


Pleating the pocket, this was the first time I attempted a pleated pocket and was really happy with how it came out.


The finished mei tai.  I was thrilled with how well it came together!


Up close of the pocket and flap folded over.


Baby Liam @ 1 week.
 

Charleston RiverDogs Ball Game!

Snoozing while on the move!
Jan Andrea's Baby Crafts